How to Renew Default (Self-Signed) Certificates on Avi Vantage
Background
The default certificate on Avi Vantage is self-signed. This article explains how to replace the default certificate when the certificate has expired or if it is going to expire. The steps mentioned in this article can also be used, when we want to replace the self-signed certificate with the 3rd-party signed certificate.
Prerequisites
OpenSSL 1.1.x or later.
Instructions
This section covers the following configuration changes:
- Changes using Avi user interface.
- Changes using OpenSSL
- Changes using Avi CLI
Changes required using Avi User Interface
-
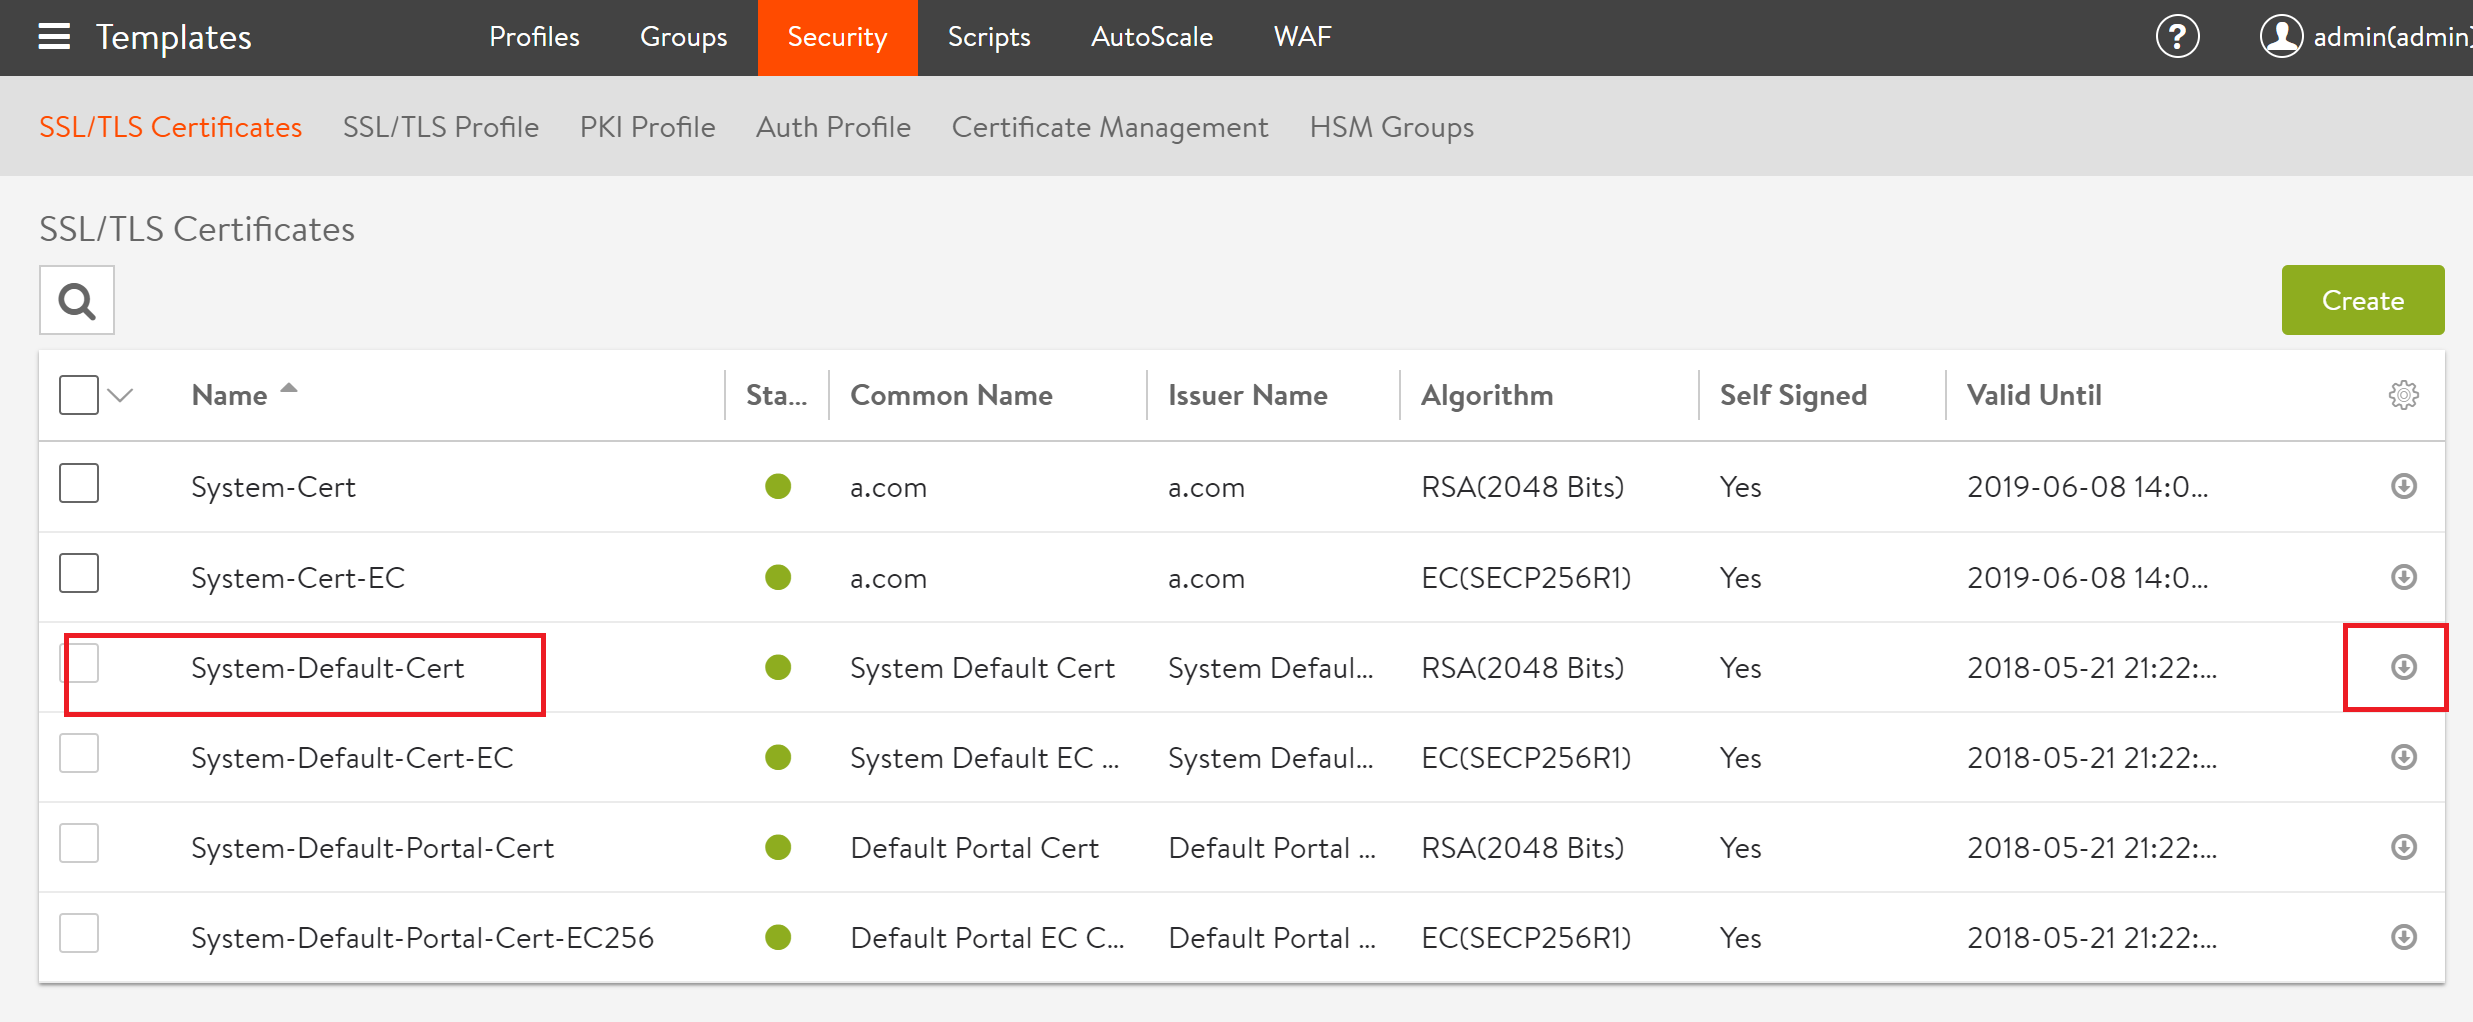
In Avi Vantage, navigate to Templates > Security, click on Export icon (right) of System-Default-Cert entry.
-
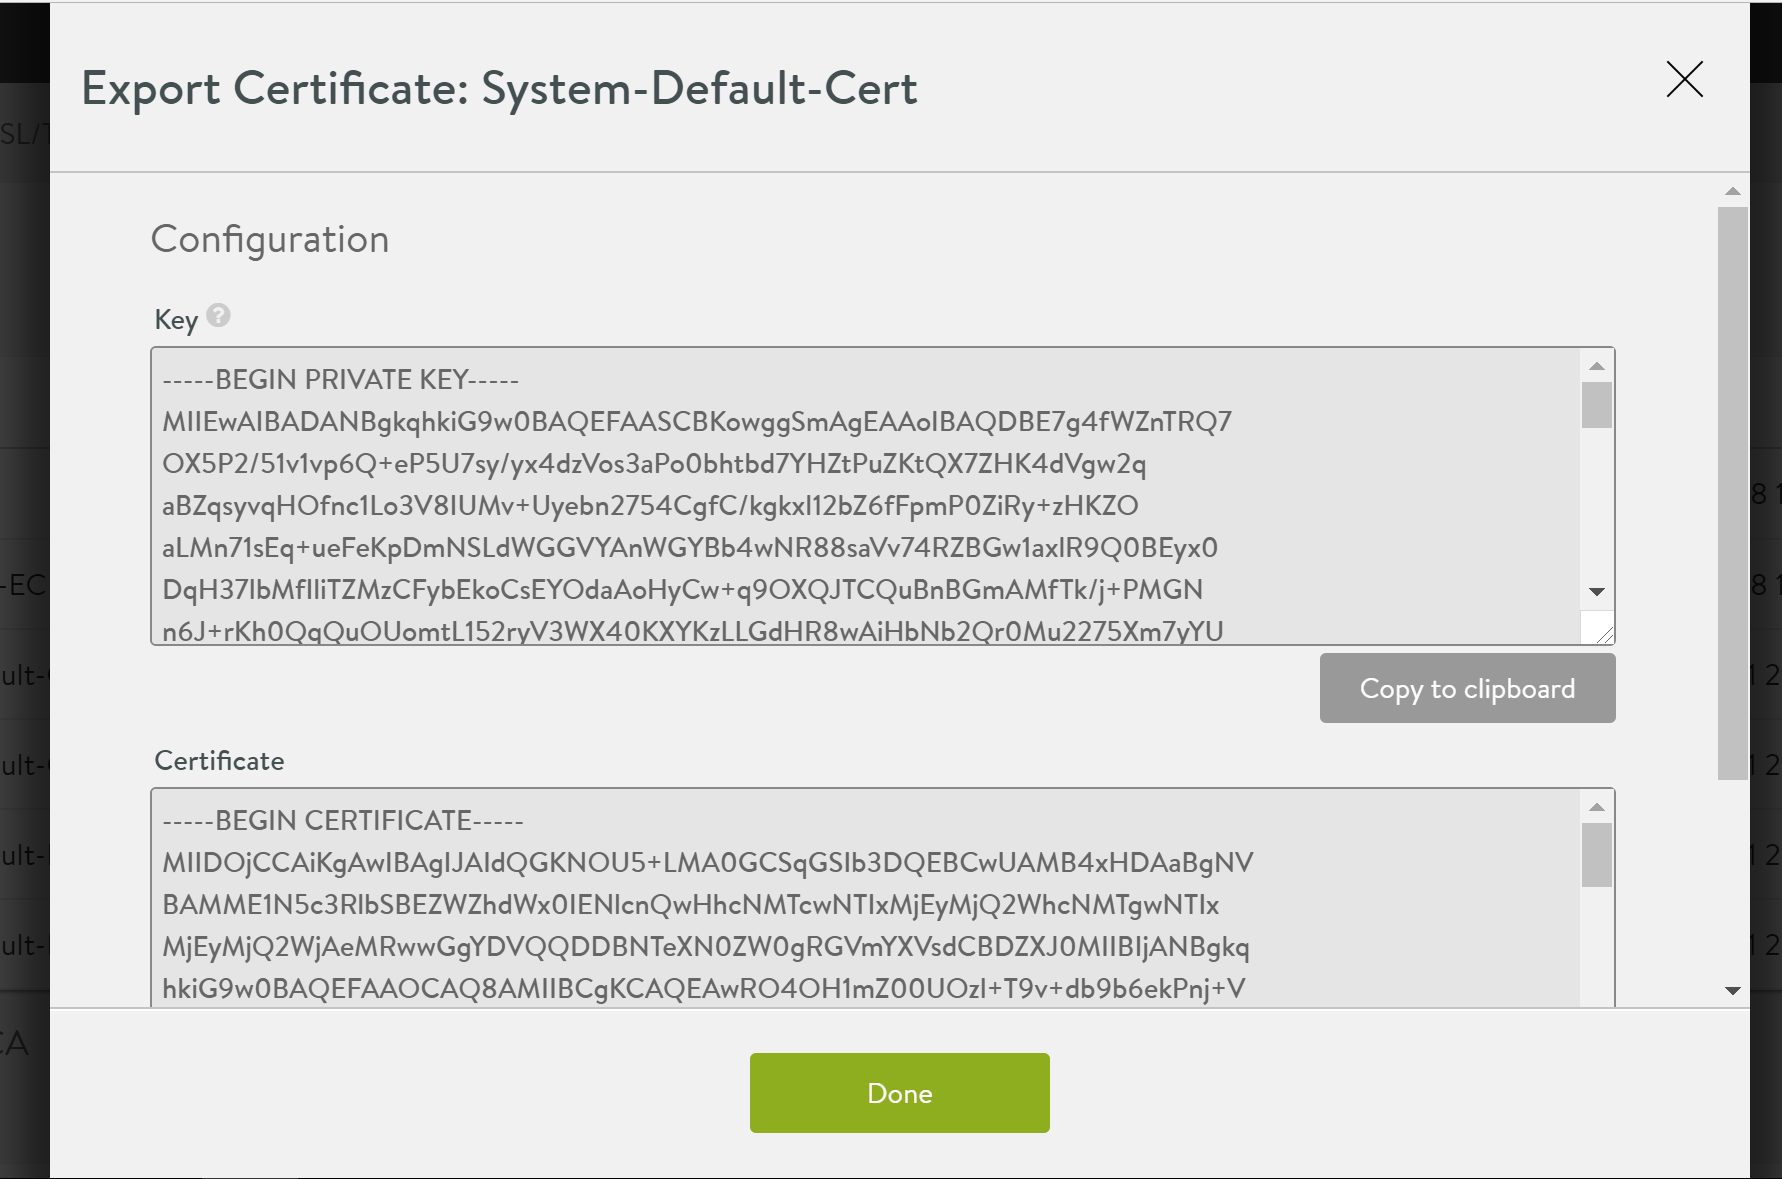
Copy data from the Key and Certificate field to two new files using the copy to clipboard option. Name the new files as system-default.key and system-default.cer, respectively.
Changes Required using OpenSSL
-
- Use OpenSSL to run the following command to verify the expiration date of the cert:
openssl x509 -in system-default.cer -noout -enddate - Run the following command to generate a new CSR with the system-default.key.
openssl req -new -key system-default.key -out system-default.csr -
Run the following command to generate a new certificate with the new expiration date. In this example, the new certificate is named as system-default2.cer.
openssl x509 -req -days 365 -in system-default.csr -signkey system-default.key -out system-default2.cer -
Verify the expiration date on the new certificate (system-default2.cer)
openssl x509 -in system-default2.cer -noout -enddate
- Use OpenSSL to run the following command to verify the expiration date of the cert:
Changes Required using Avi CLI and Avi UI
- Copy both, the system-default2.cer and the system-default.key to the Avi Vantage Controller.
Optional Step: Before performing the next steps, you may disable any virtual services that are configured to use the System-Default-Cert.
-
Login to the Avi CLI, and execute the following command to perform the changes for the default certificate on Avi Vantage (System-Default-Cert).
[admin:cntrl1]: > configure sslkeyandcertificate System-Default-Cert -
Execute the
certificatecommand, then press Enter. Runcertificate file:<path to system-default2.cer>/system-default2.cer. Enter thesavecommand to save the changes.[admin-cntrl1]: sslkeyandcertificate> certificate [admin-cntrl1]: sslkeyandcertificate:certificate> certificate file:<path to system-default2.cer>/system-default2.cer [admin-cntrl1]: sslkeyandcertificate> save - Enter the
key file:<path to system-default.key>/system-default.key.Enter thesavecommand again.[admin-cntrl1]: sslkeyandcertificate> key file:<path to system-default.key>/system-default.key [admin-cntrl1]: sslkeyandcertificate> save -
Enable the virtual services if they were disabled before the changes(this is an optional step).
- Login to the Avi user interface, navigate to Templates > Security, and check the expiry date for the renewed certificate.