Avi Vantage Integration with Microsoft Active Directory Federation Services (ADFS)
An Avi virtual service’s ability to act as a service provider is key to support of Security Assertion Markup Language (SAML), starting with release 18.2.2. To fulfill this role, the Avi virtual service sends authentication requests to an identity provider (IDP), responses from which govern user access to back-end applications running in Avi pools. Multiple third-party integrations have been implemented by Avi Networks to give customers a choice of IDP. This article outlines the steps necessary to enable ADFS as IDP.
Avi as SP and ADFS as IDP

Prerequisite Steps
- Set up the ADFS server and the service account for it.
- Ensure the SSL certificate has been installed and that the server is accessible over HTTPS, with an FQDN name the same as the CN in the certificate.
Note: Read this document to understand some key ADFS terms for ADFS. Follow the instructions in this document to configure the ADFS server.
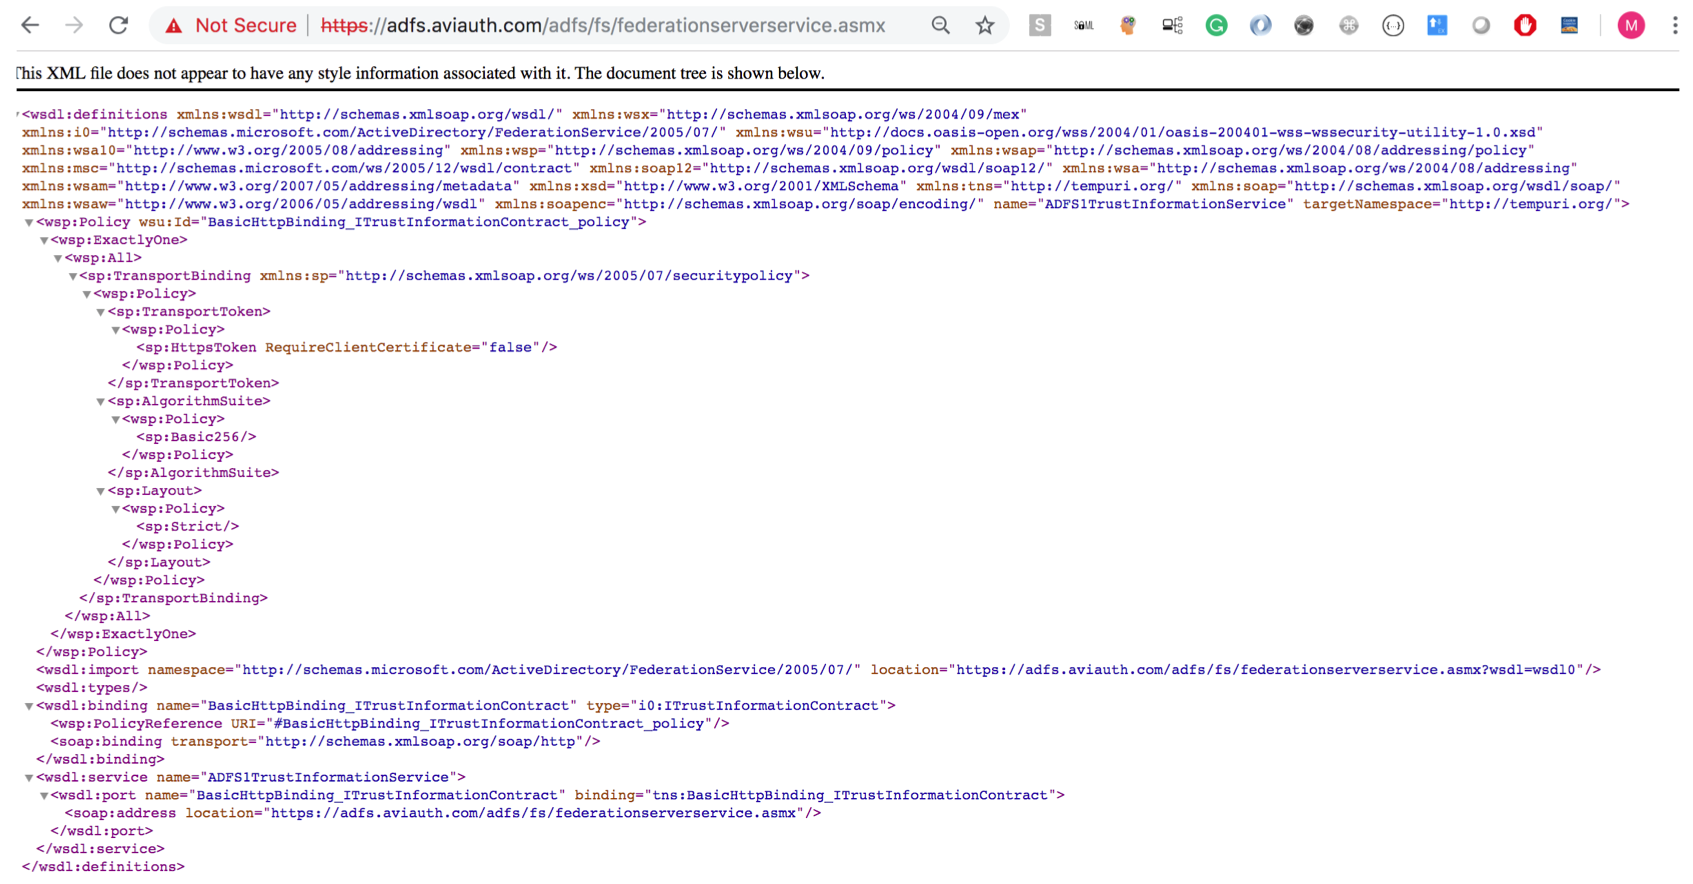
- Test your ADFS server by following this URI:
https://<adfs_fqdn>/adfs/fs/federationserverservice.asmx
It should render the output as shown in the image below.
Configuring ADFS As IDP
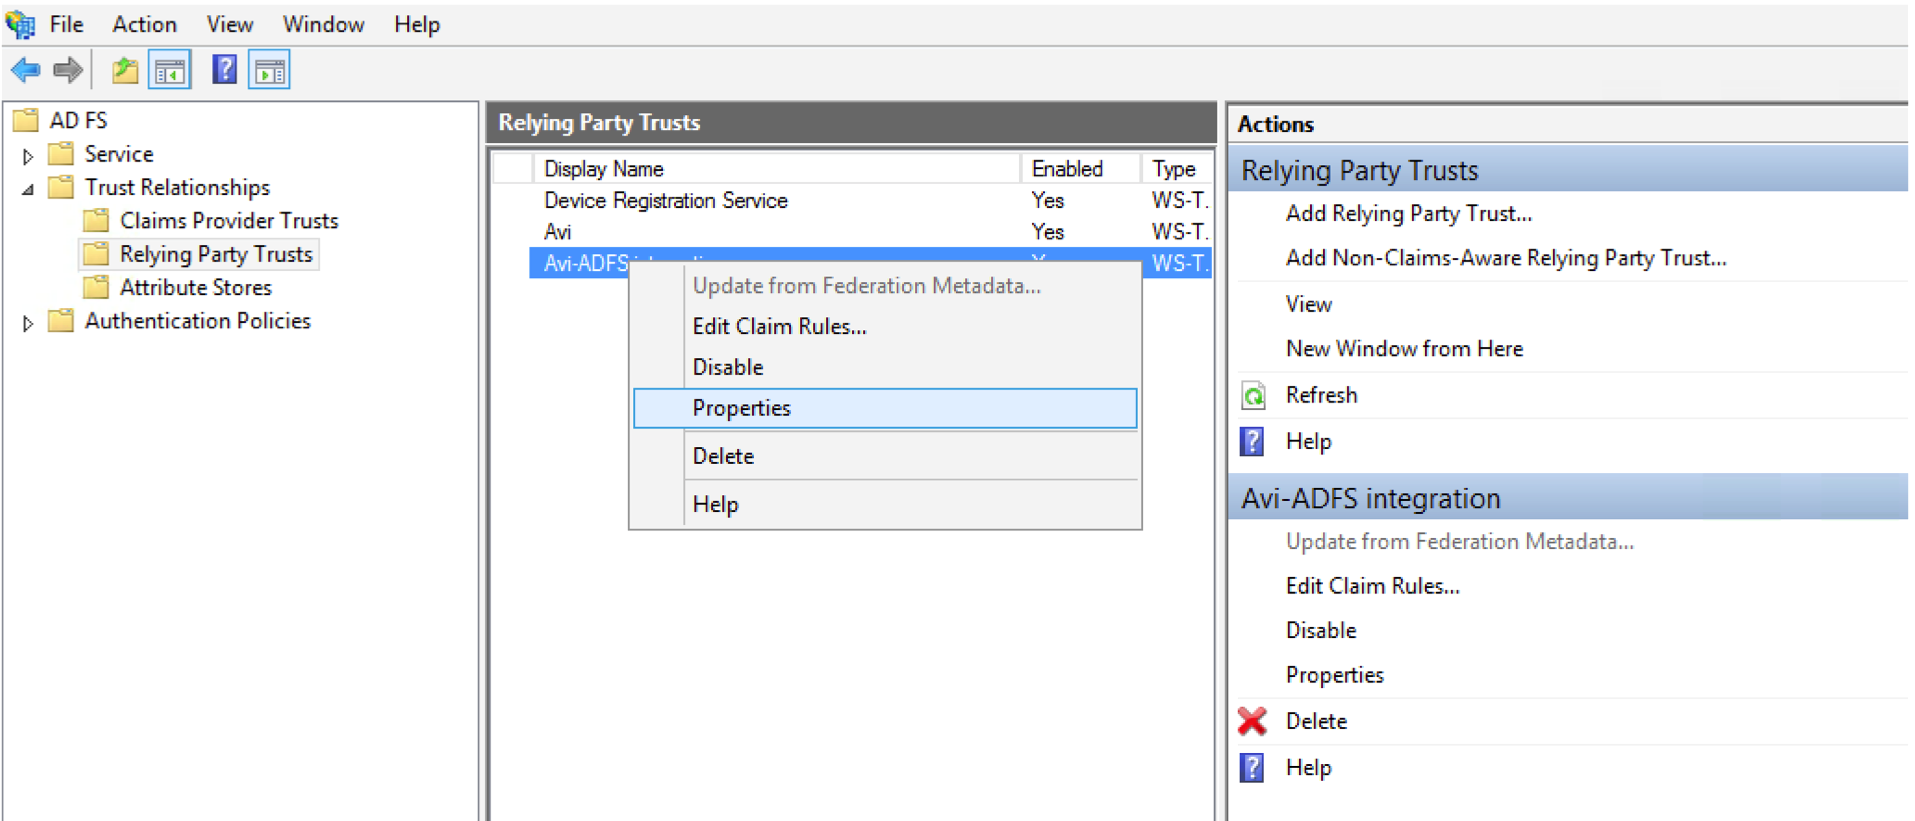
- Open the ADFS management console.
- Under Trust Relationships, right click on Relying party trusts and select Add Relying Party Trust.

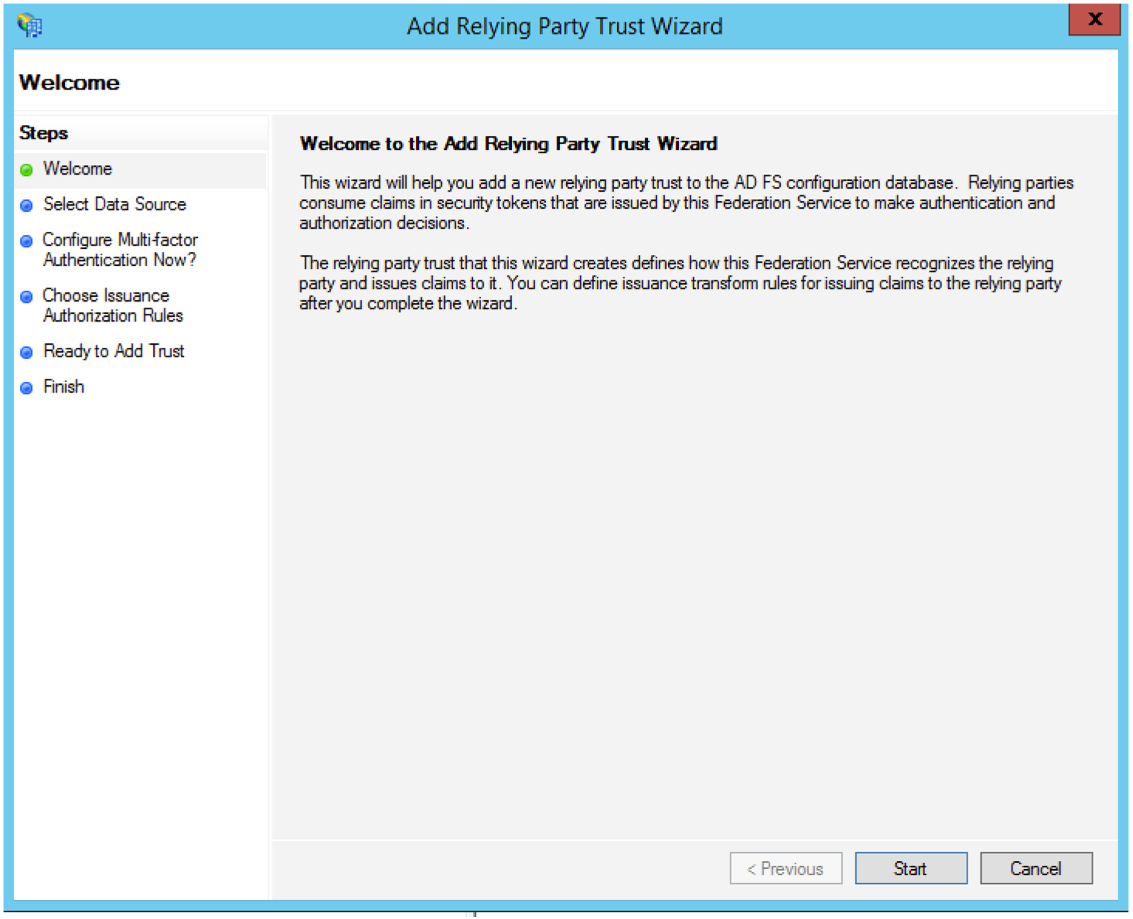
- The Add Relying Party Trust Wizard will open; click on Start.
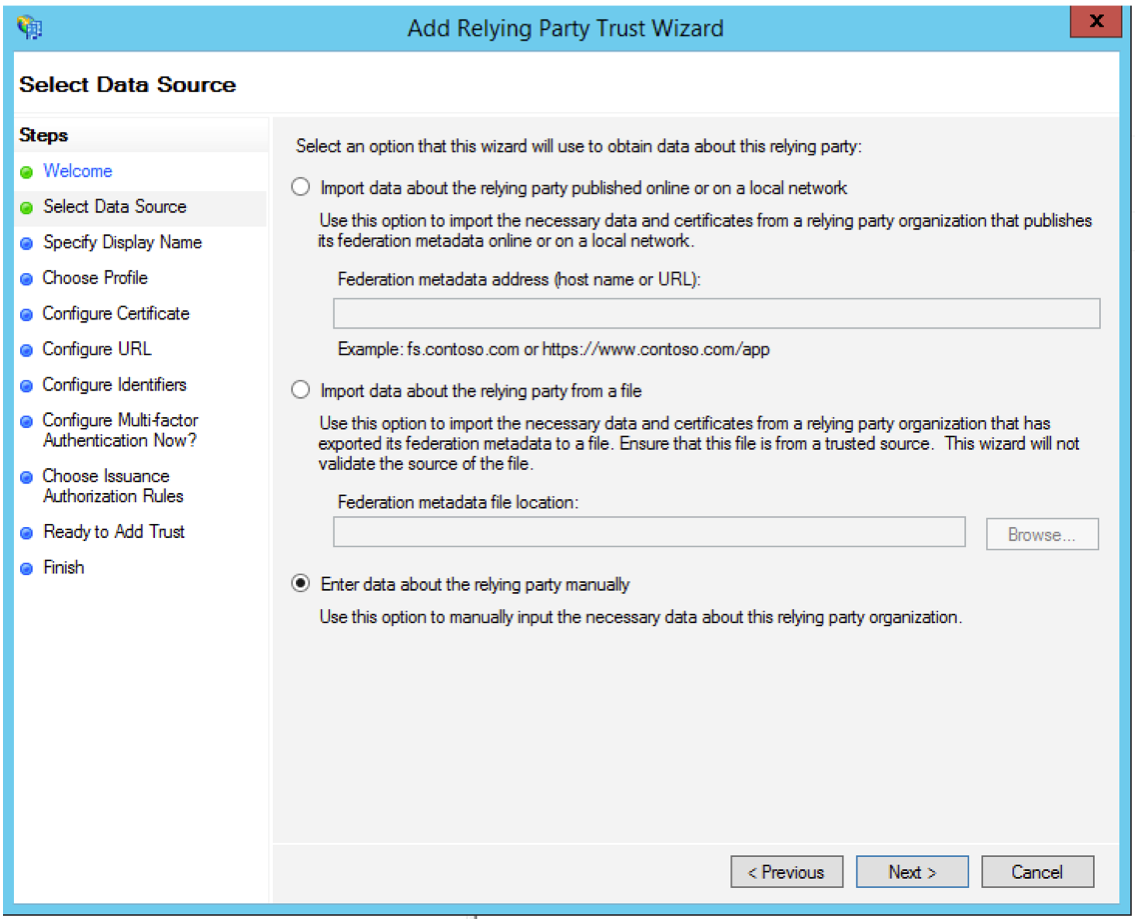
- Select the Enter data about the relying party manually option and click on Next.
- On the next screen, provide Display Name and click on Next.
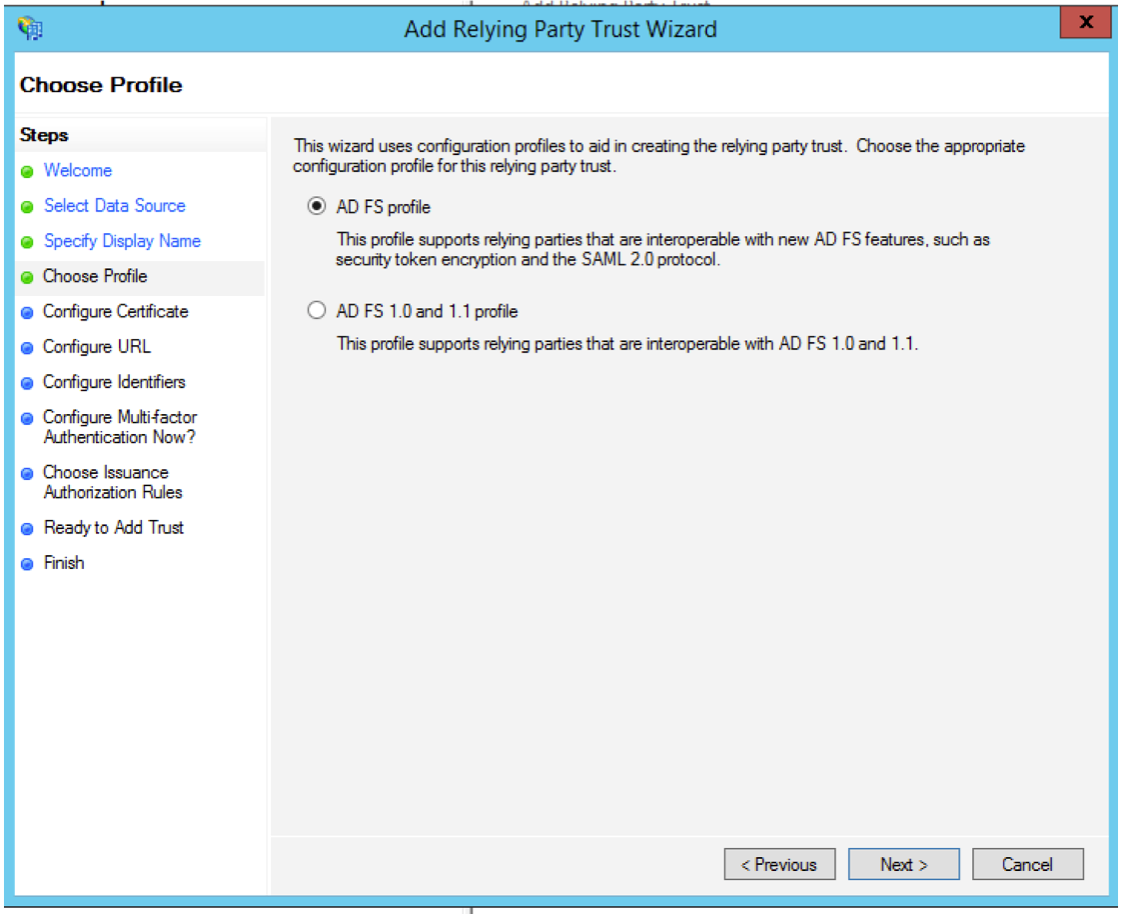
- Select the AD FS profile option and click on Next.
- Click on Next on Configure Certificate tab.
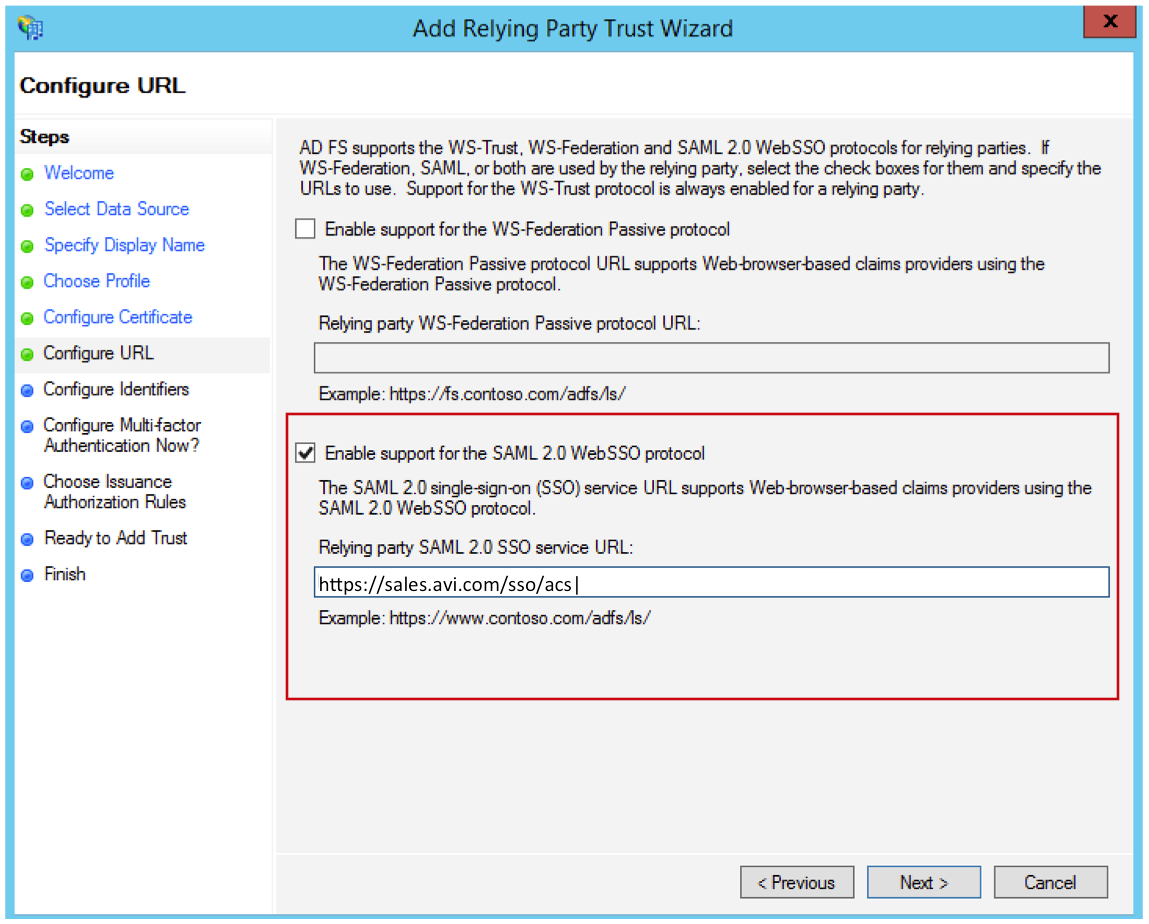
- On the Configure URL screen, select Enable support for the SAML 2.0 WebSSO protocol and enter the SP URL as shown below. This should match the SSO URL on SP.
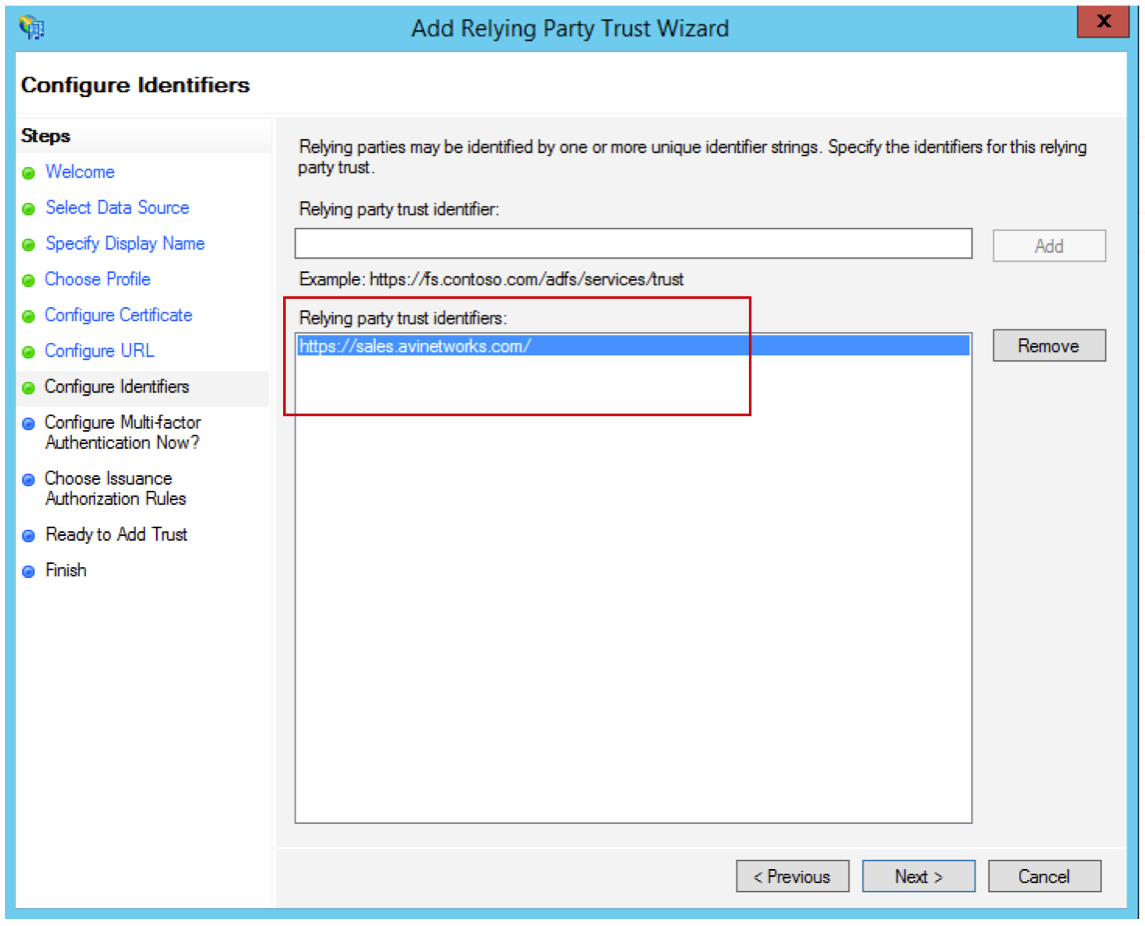
- Enter the Relying party trust identifier. It should be same as the entity ID on your SP.
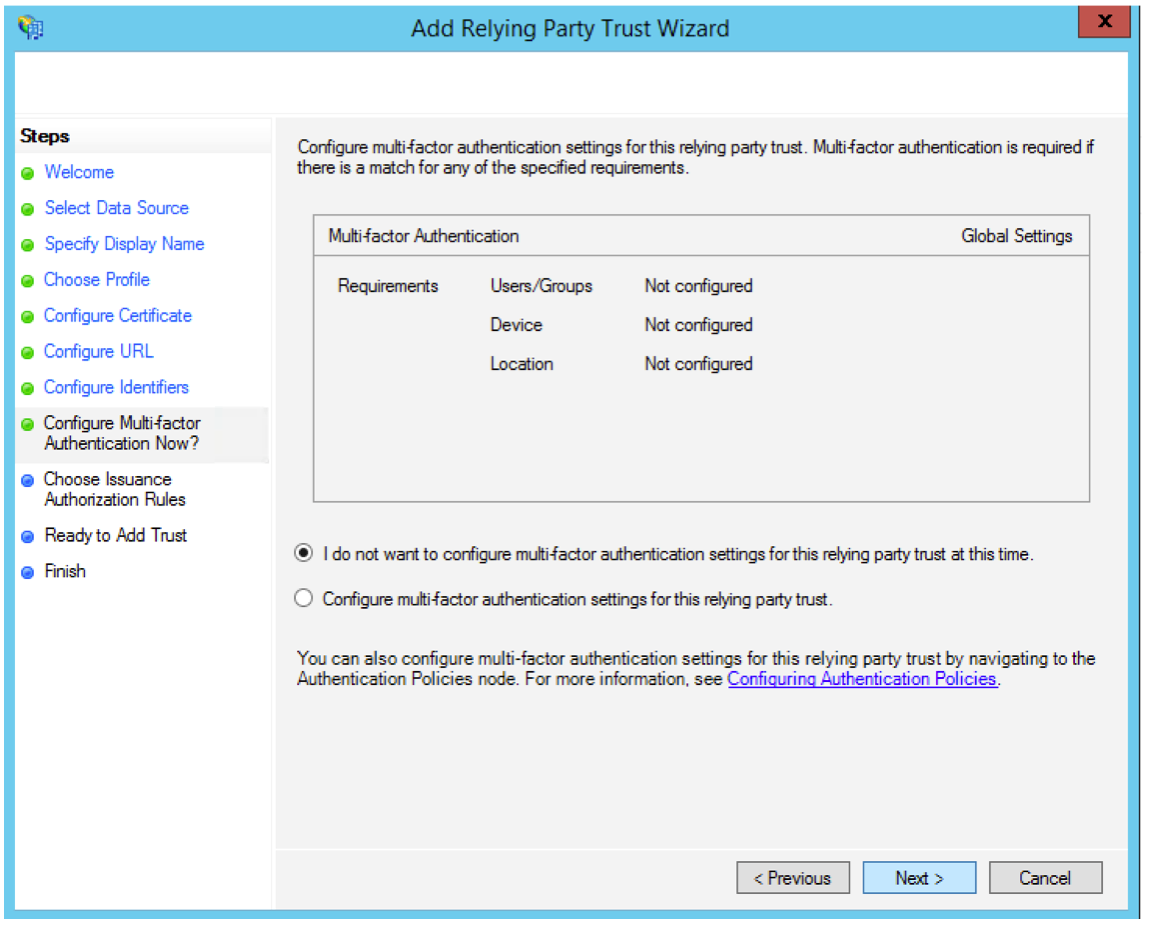
- Choose the first option as shown below and click on Next.
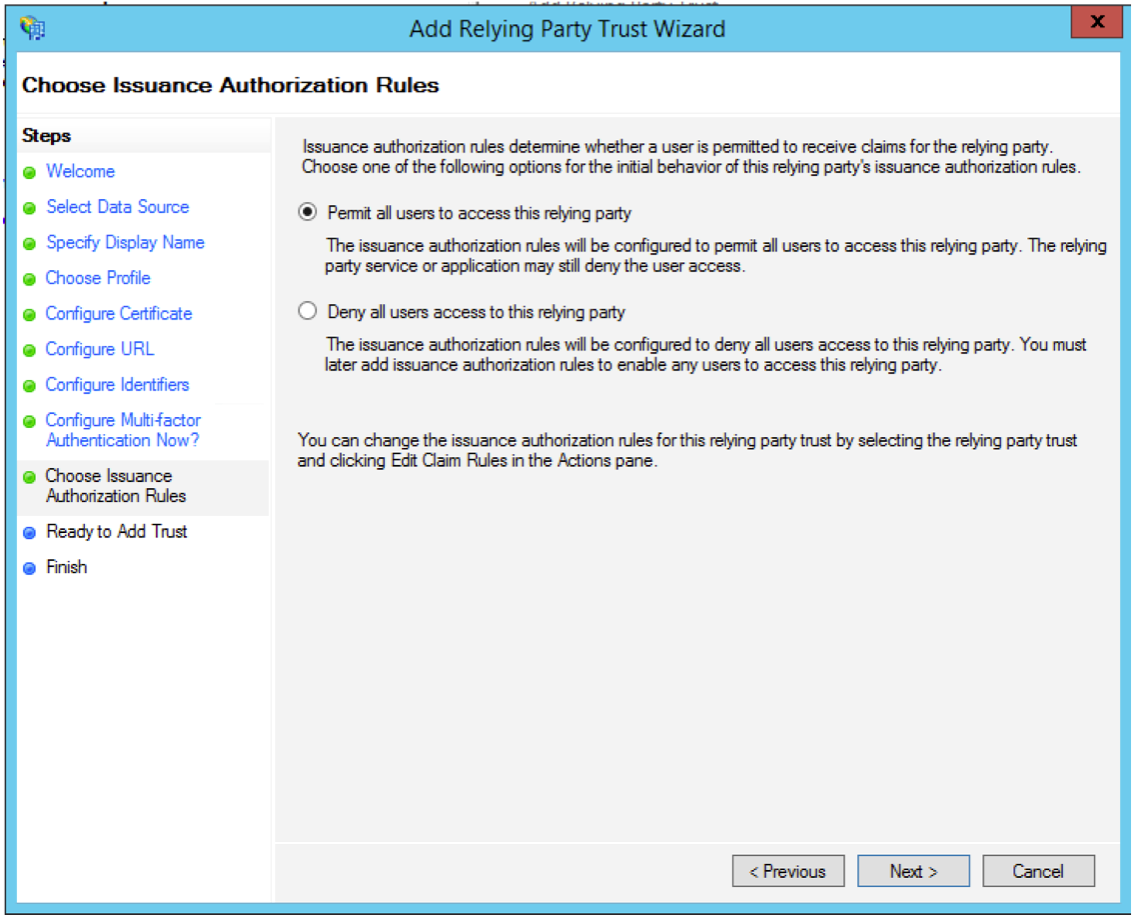
- Select the Permit all users to access this relying party option and click on Next.
- Click on Next on Ready to Trust tab.
- Click on Close.

- The Edit Claim Rules wizard will appear. Click on Add Rule.

- Make a selection from the Claim rule template pulldown and and click on Next.

- On the Configure Claim Rule screen, add the name, choose the Attribute store and add the mapping of required attributes as shown in the screenshot below.

- Click on OK. Click on Apply and click on OK again.
- Right click on App name and select Properties from the pulldown menu.
- Select the Endpoints tab and add the SSO URL as shown in the screenshot below. This should match the SSO URL on SP.

Check the Identifier to make sure it is correct and match the Entity ID. Now your IDP is ready.
Metadata can be downloaded from this link:
https://<adfs_fqdn>/FederationMetadata/2007-06/FederationMetadata.xml
Once configuration is complete on ADFS, configure an Avi virtual service to act as service provider by following the instructions given in the SAML Configuration on Avi Vantage article.
Suggested Reading
Configuring SAML Authentication with Workspace One for Avi Controller