Getting Started with Avi Pulse
Note: This content has been relocated to docs.vmware.com. For the latest update, see VMware NSX Advanced Load Balancer Cloud Services.
Overview
This guide explains the registering and deregistering of Avi Controllers with Avi Pulse.
Note: Starting with Avi Vantage version 20.1.3, Avi Pulse has been integrated with My VMware portal.
Getting Started with Pulse
Prerequisites
The following are the prerequisites to register a Controller:
-
Have an account with VMware NSX Advanced Load Balancer product support entitlement.
- Firewall requirements (portal.avipulse.vmware.com (known as Avi portal), and VMware IDP (customerconnect.vmware.com), port 443 should be open)
-
Port 443 access to Avi portal from the Avi Controller
-
Port 443 access to Avi portal from the customer browser/machine while registering the Avi Controller to Avi Pulse
-
- Change cluster name from default. For instance, set the cluster name of the Avi Controller cluster to uniquely identify the Avi Controller cluster asset. By default, all Avi Controller clusters will have ‘cluster-0’ as their name.
Migrating to MyVMware SSO
Starting with Avi Vantage version 20.1.3, Avi Pulse is integrated with the My VMware portal. If you have upgraded to the 20.1.3 from the older versions, then it is recommended to follow the below mentioned steps to avail full functionality of Avi Pulse
-
Deregister the Controller from Avi Pulse as explained in the De-registering the Controller section.
- Use the following CLI commands to change the portal URL and the mode:
root@admin-ctrl:/home/admin# shell Login: admin Password:<password> [admin:admin-ctrl]: > configure albservicesconfig [admin:admin-ctrl]: albservicesconfig > portal_url https://portal.avipulse.vmware.com Overwriting the previously entered value for portal_url [admin:admin-ctrl]: albservicesconfig > mode myvmware Overwriting the previously entered value for mode [admin:admin-ctrl]: albservicesconfig > save - Register the Controller again as mentioned in the Registering the Controller to Avi Pulse section.
Note: Use My VMware Portal account credentials while registering.
Note:
For successful login and registration you need to have VMware NSX Advanced Load Balancer product support entitlement.
Setting up Proxy for Accessing Avi Pulse Service
A proxy server helps in reducing the data breach by adding an extra layer of security between the internal servers and outside traffic.
The following are the three modes of proxy:
- No Proxy — All services are directly accessed without any proxy.
- System Proxy — Avi services will use system level proxy settings.
- Split Proxy — Avi Pulse service will not use the system level proxy settings but the proxy defined in split proxy configuration.
The following are the CLIs used for split proxy and system proxy:
Split Proxy: For using split proxy, you need to configure proxy settings under ALB services config as follows. Ensure that you set use_split_proxy under ALB services config to true.
[admin:controller]: > configure albservicesconfig
[admin:controller]: albservicesconfig> use_split_proxy
Overwriting the previously entered value for use_split_proxy
[admin:controller]: albservicesconfig> split_proxy_configuration
[admin:controller]: albservicesconfig:split_proxy_configuration> host myproxy.avi.com
[admin:controller]: albservicesconfig:split_proxy_configuration> port 8080
[admin:controller]: albservicesconfig:split_proxy_configuration> save
[admin:controller]: albservicesconfig> save
System Proxy: For using system proxy, you need to configure proxy settings under system configuration as follows. Ensure that you set use_split_proxy under ALB services config to false.
[admin:controller]: > configure systemconfiguration
[admin:controller]: systemconfiguration> proxy_configuration
[admin:controller]: systemconfiguration:proxy_configuration> host myproxy.avi.com
[admin:controller]: systemconfiguration:proxy_configuration> port 8080
[admin:controller]: systemconfiguration:proxy_configuration> username testuser
[admin:controller]: systemconfiguration:proxy_configuration> password TestPassword
[admin:controller]: systemconfiguration:proxy_configuration> save
[admin:controller]: systemconfiguration> save
Registering the Controller to Avi Pulse
The following are the steps to register the Controller to Avi Pulse:
-
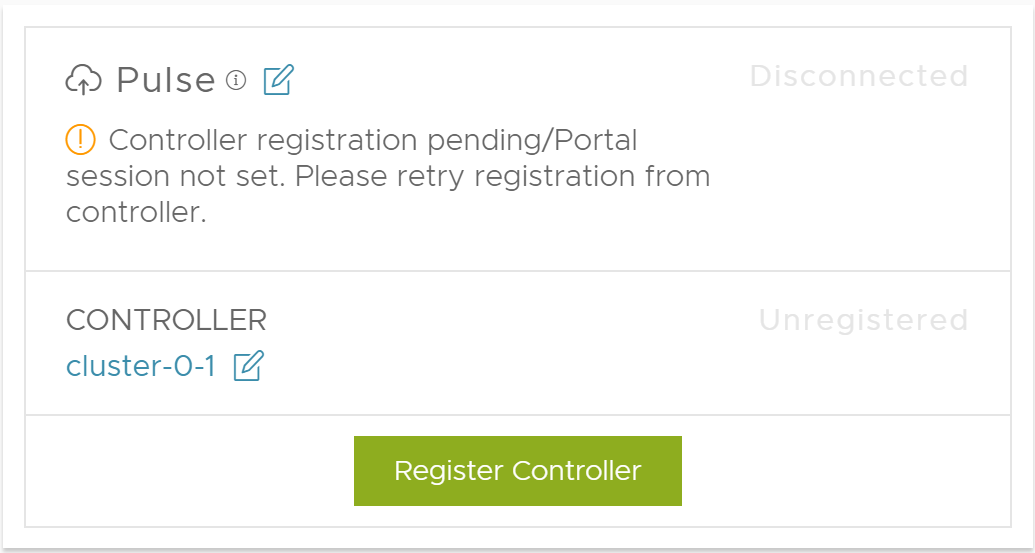
Register the Controller. You can register to the Controller by navigating to Administration > Settings > Pulse.
-
Select Avi Pulse and click on Register Controller button. You will be directed to the login page as follows:

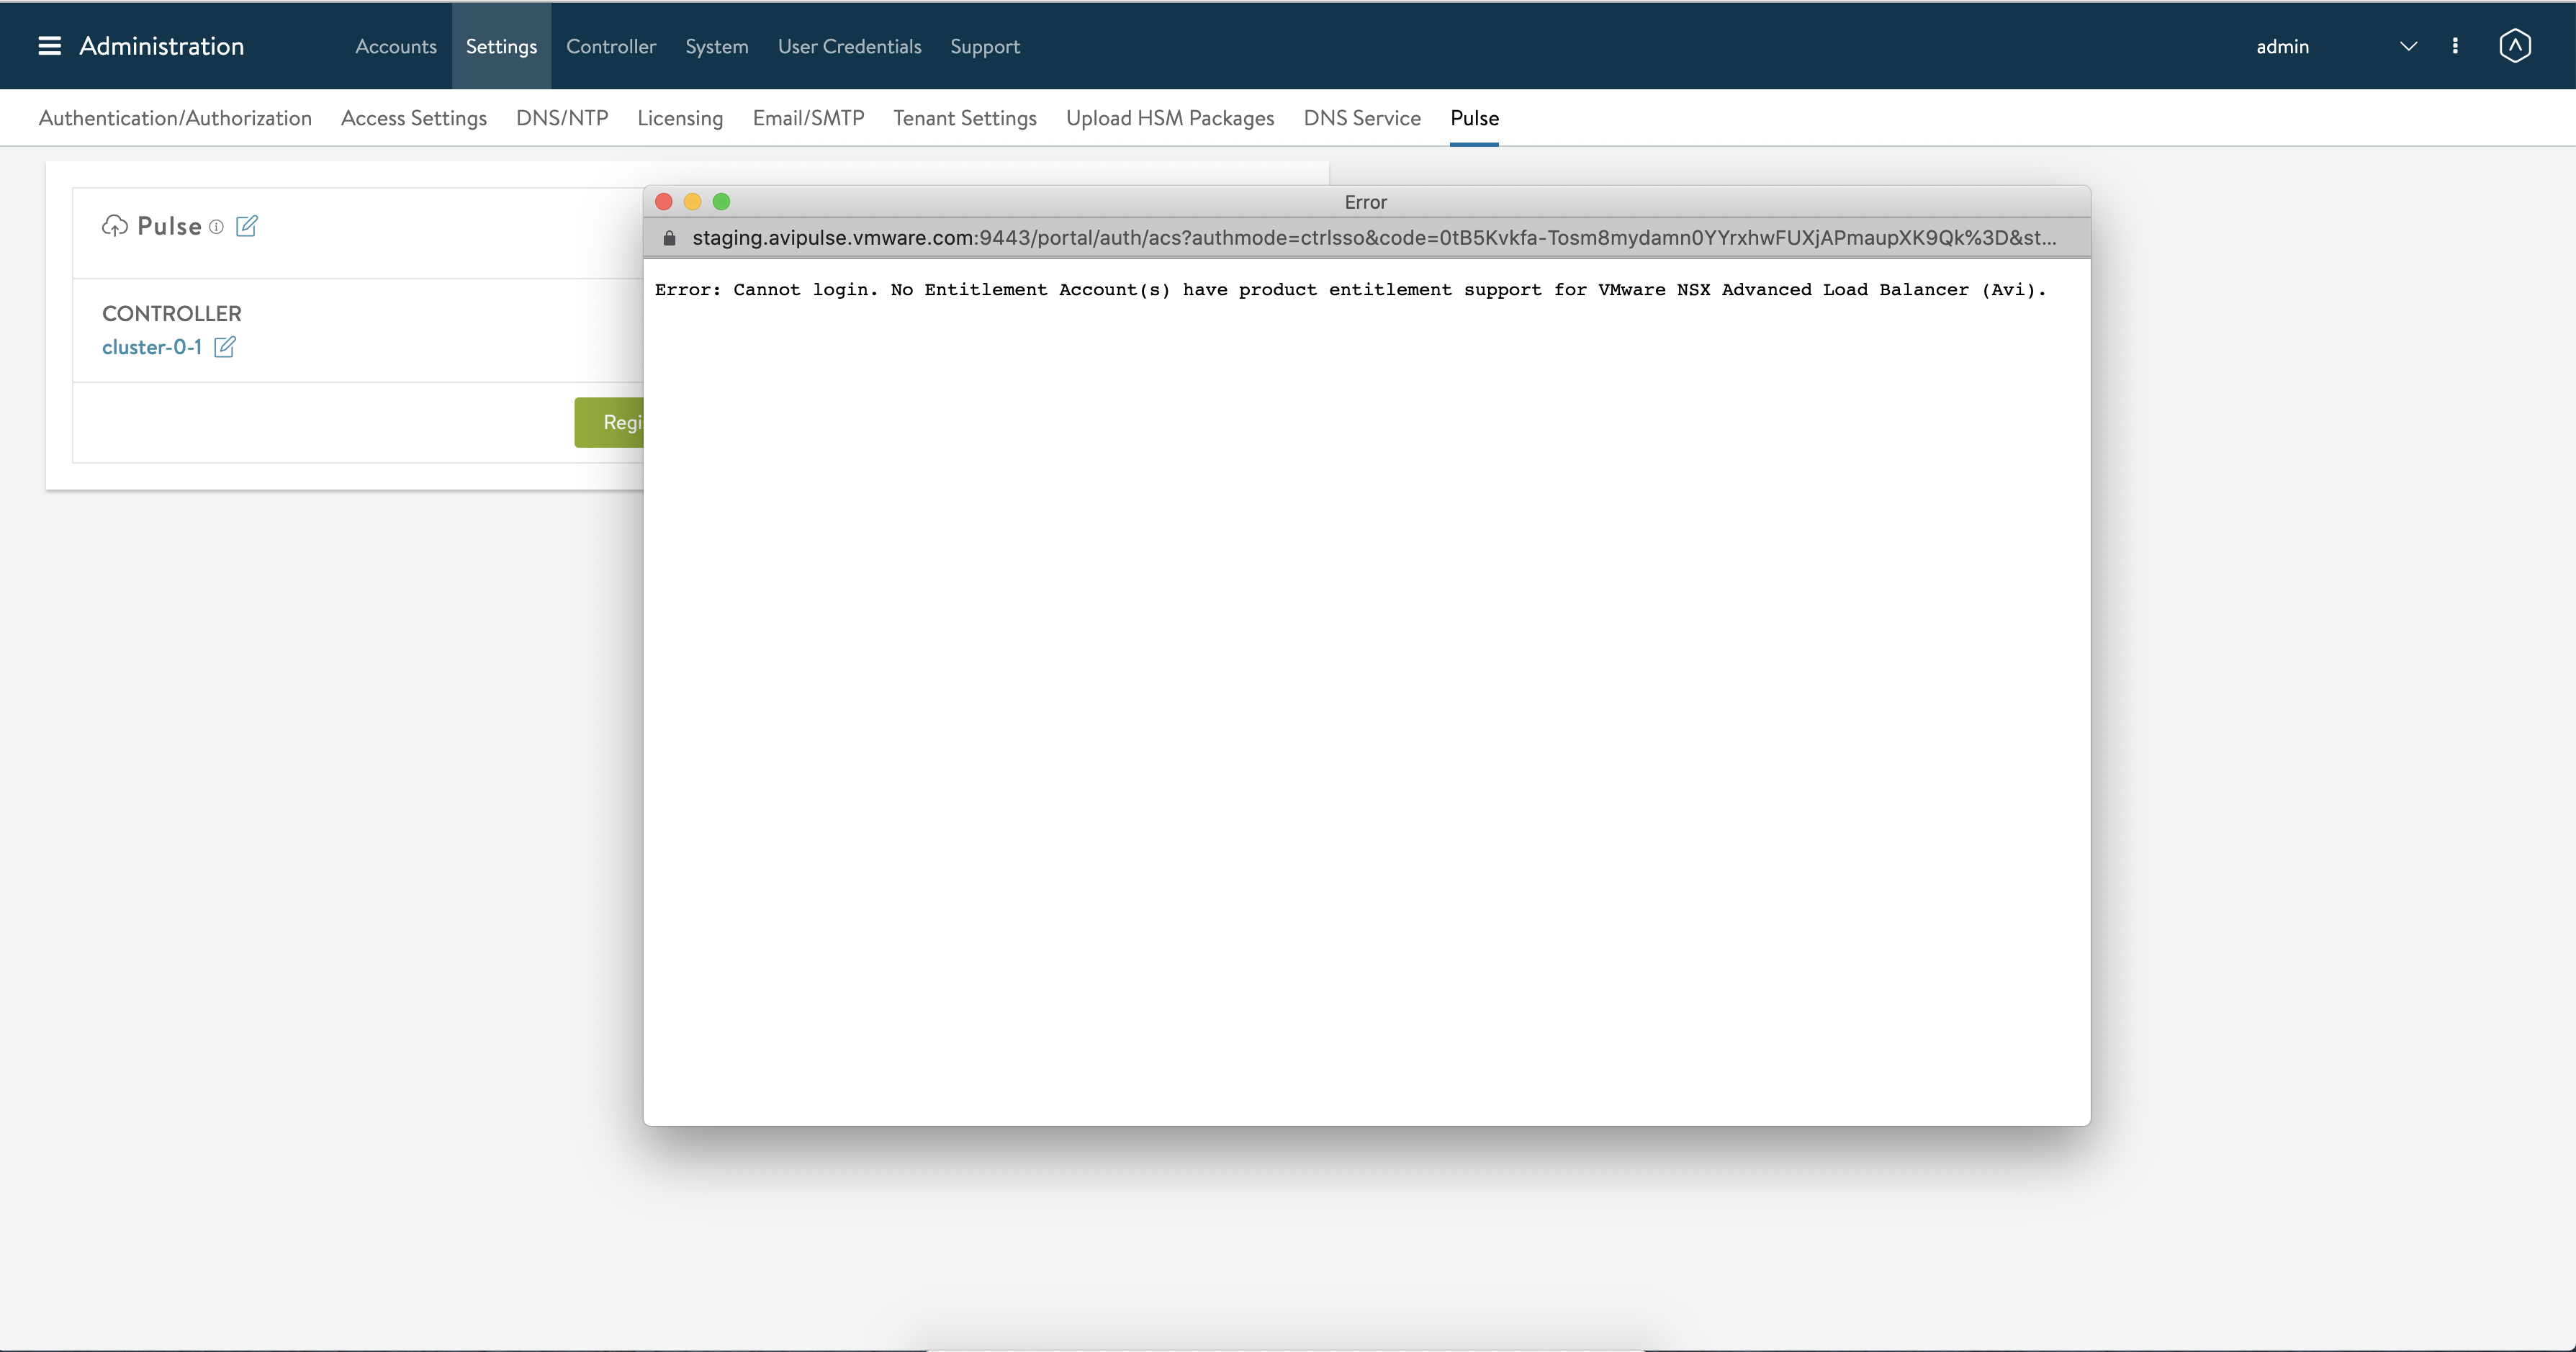
If you do not have product support entitlement for VMware NSX Advanced Load Balancer, then the login will be denied and the system would display the following error message:
Specify the login credentials of customer portal to login. Click on Sign In button. The following window is displayed:
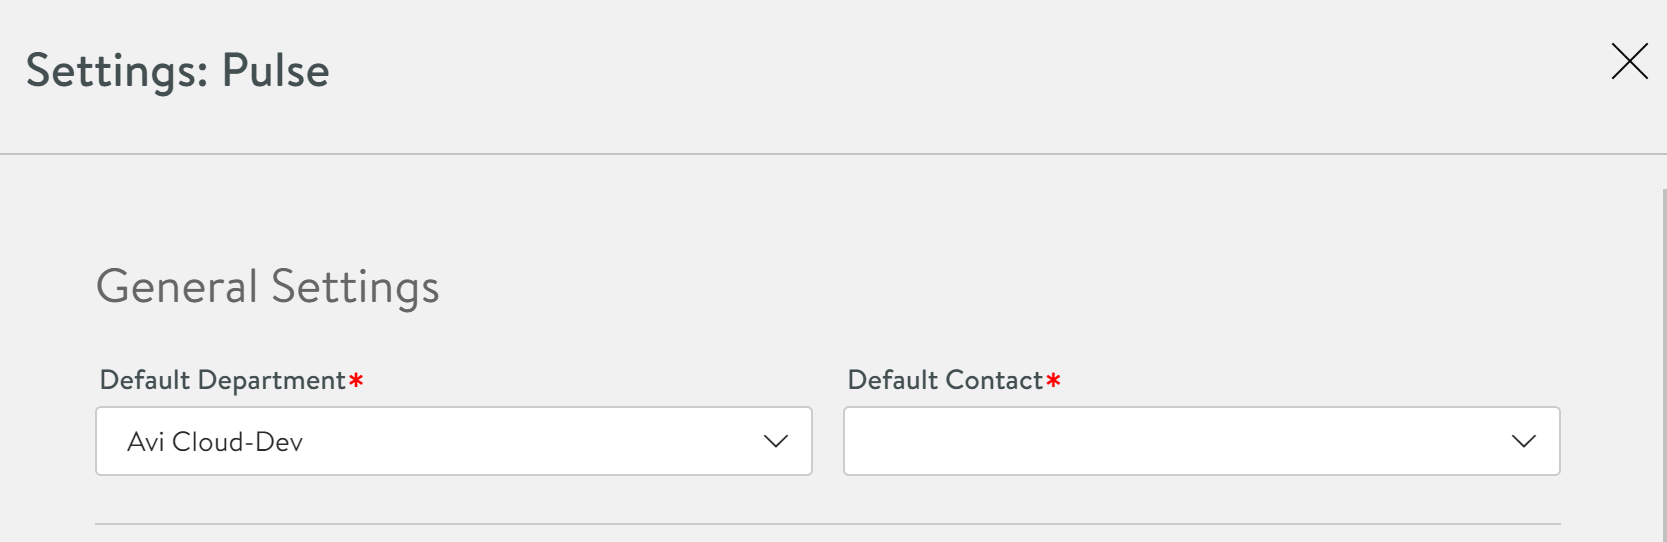
If you are managing multiple departments, you can choose one department to register to the Controller. After successful login, you will be prompted to choose one of the departments in the Department field. You can also choose one of the support contacts from that department in the Contact field.
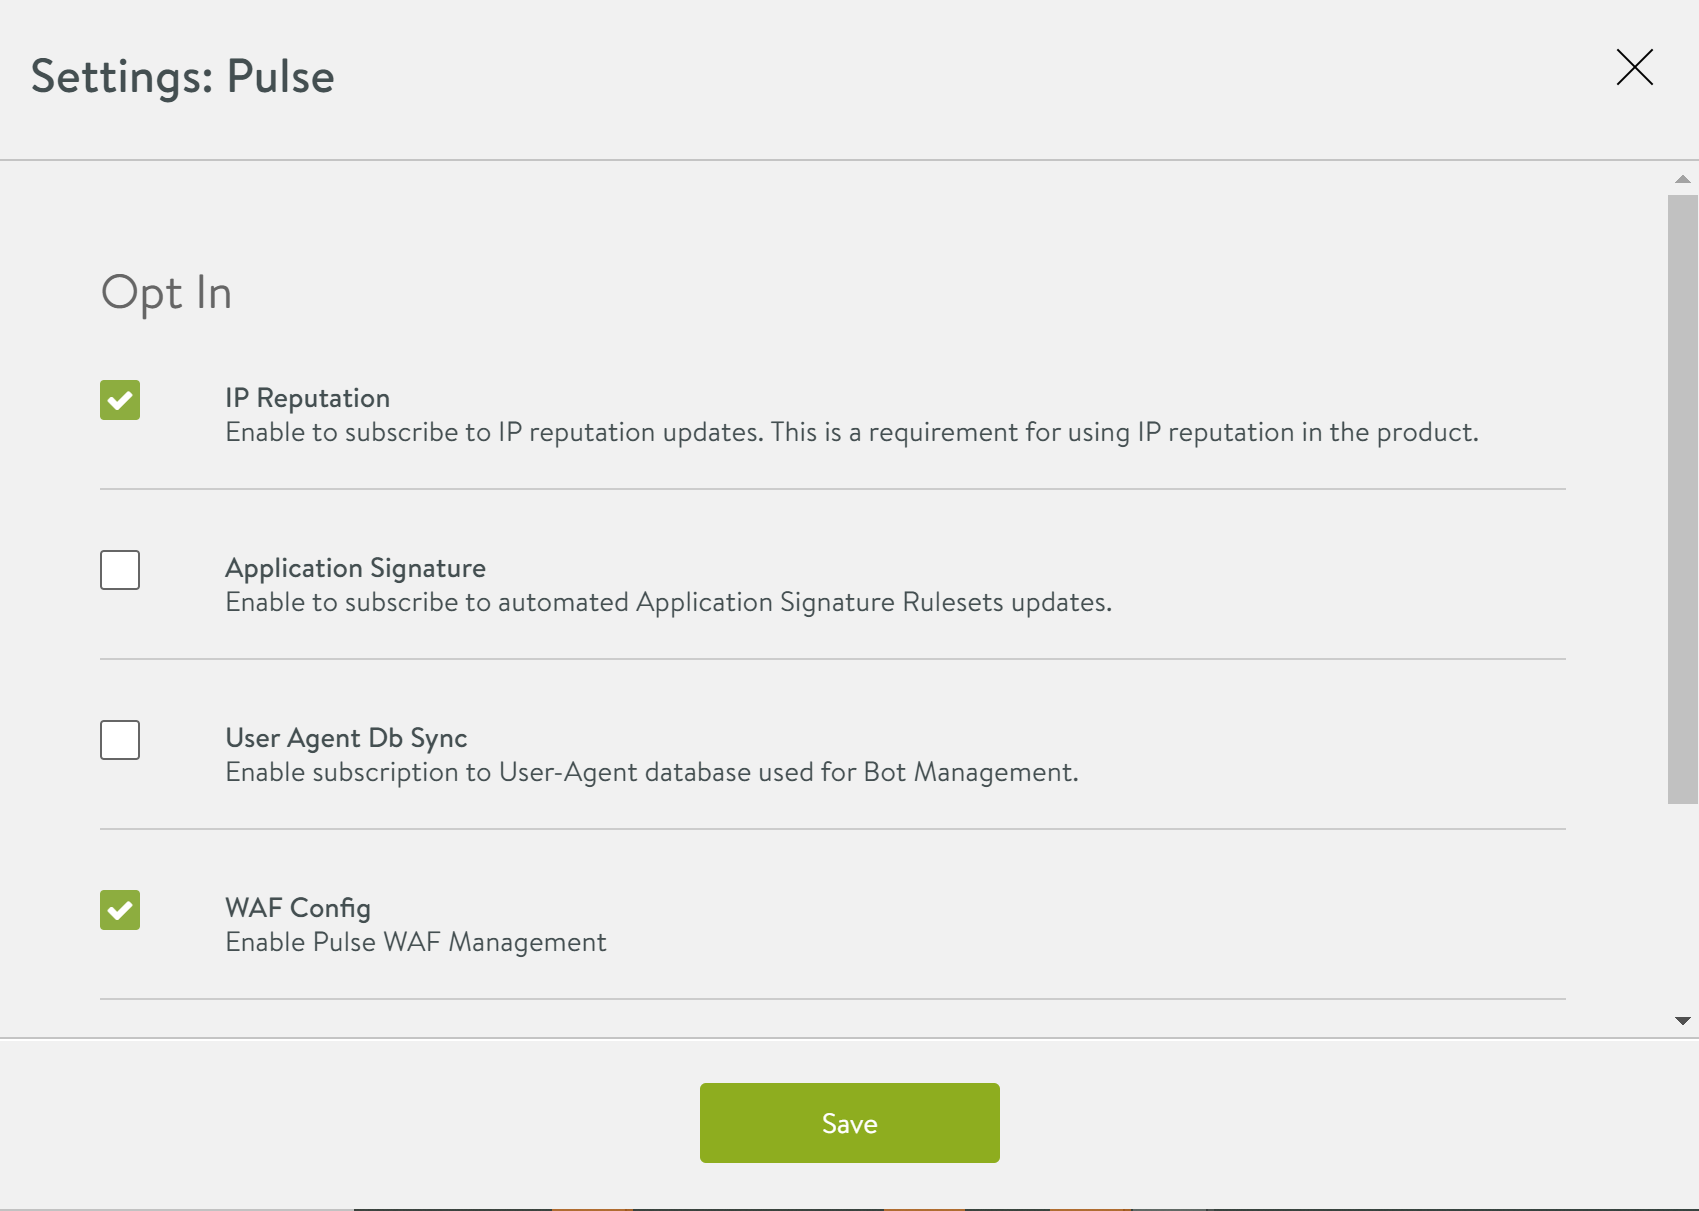
Select the opt-in options to enable that feature and click on Save button. The Pulse will be registered. The following window is displayed:
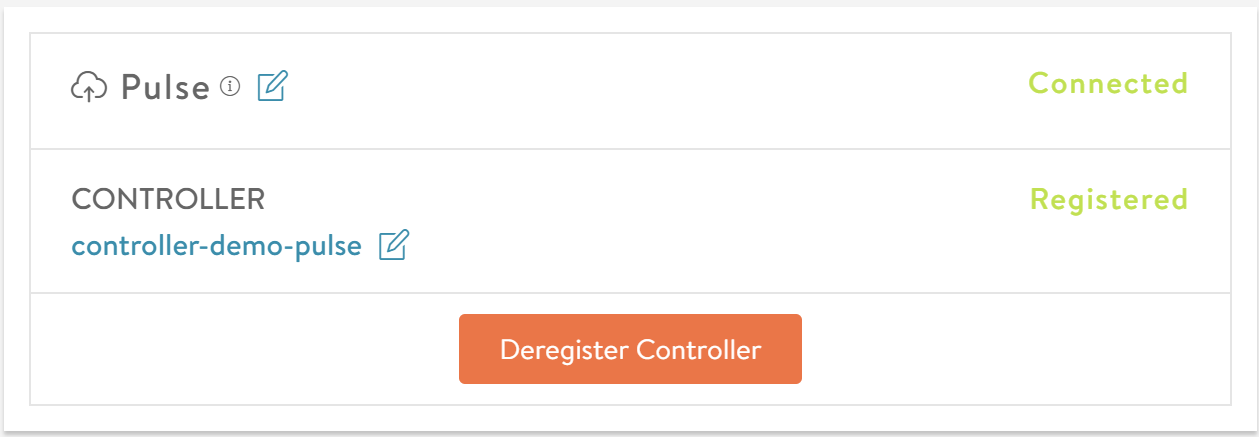
You can edit Pulse settings by clicking on edit icon.
De-registering the Controller
You can deregister the Controller to disable the connectivity to Pulse portal. Once you deregister the Controller, all Pulse services will be disconnected.
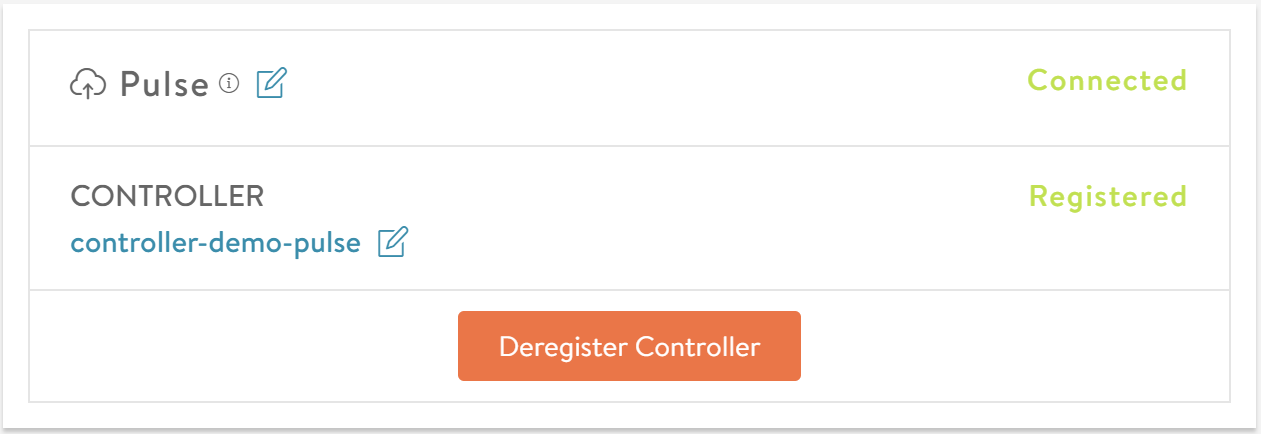
Click on Deregister Controller button.
The following window is displayed:
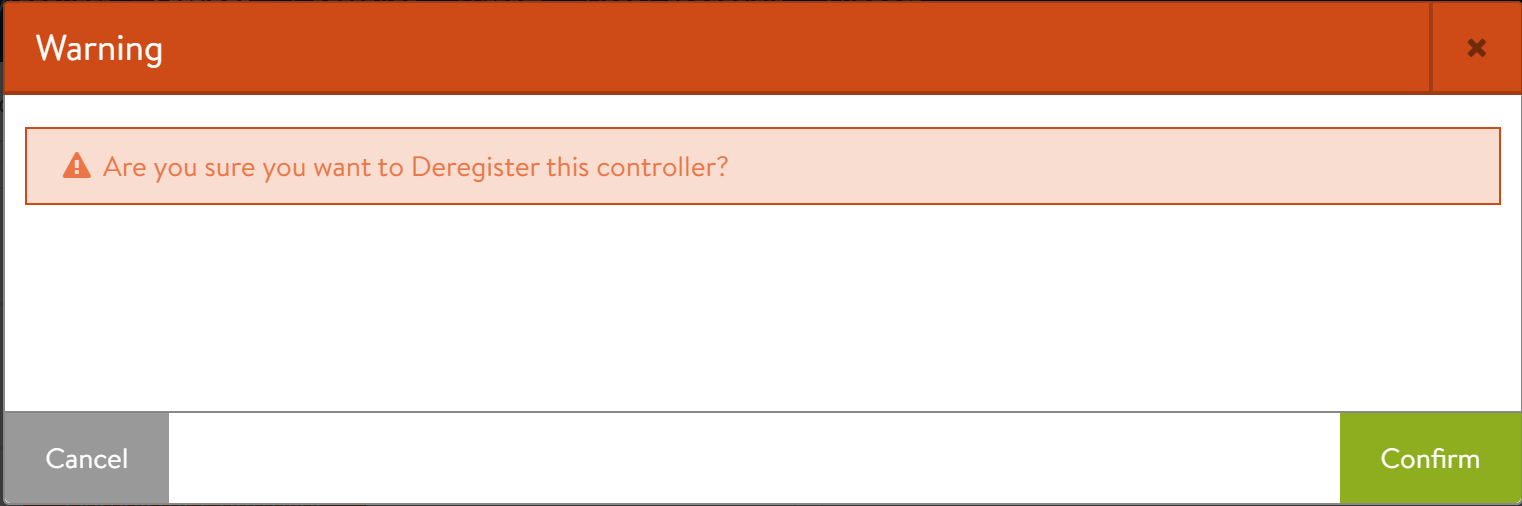
You can click on Confirm button to confirm the de-registering the Controller.