Tenancy in AKO
Overview
Tenancy support in AKO allows AKO to map each Kubernetes / OpenShift cluster uniquely to a tenant in Avi. The field ControllerSettings.tenantsPerCluster needs to be set to true to enable this feature.
Enabling Tenancy in AKO
To enable Tenancy in AKO, follow the steps below:
Creating a Tenant
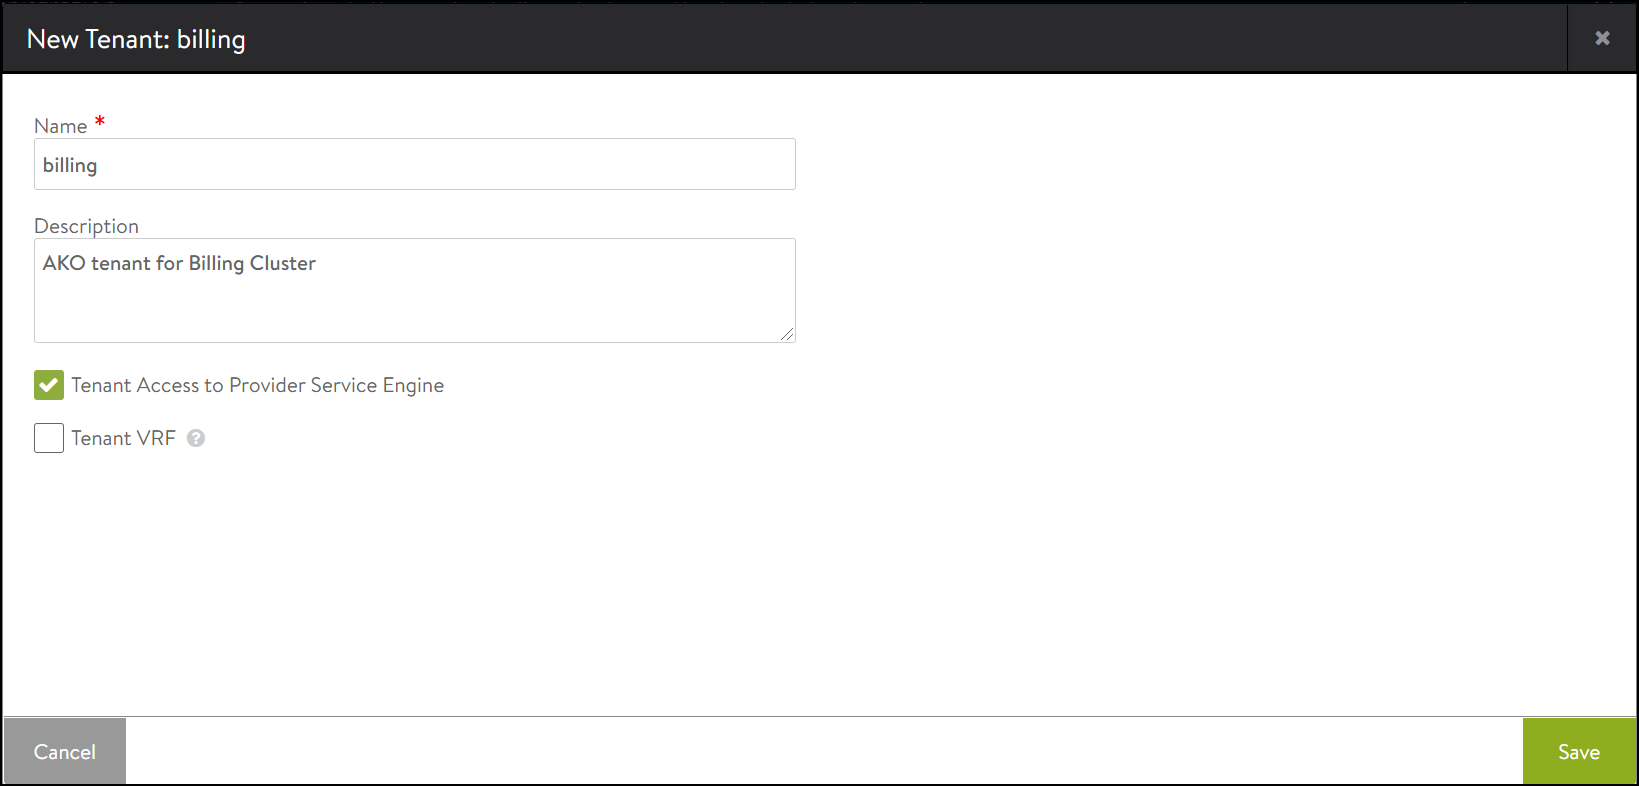
Assume that the Avi Controller admin creates a tenant billing.
To create a separate tenant for each cluster in Avi,
-
From the Avi UI, navigate to Administration > Accounts > Tenants.
-
Click on Create.
-
Enter the Name as billing.
The New Tenant screen is as shown below:
-
Click on Save.
Creating Roles
Create the required roles with appropriate privileges to the ako user in the admin and the billing tenants. This can be created by POST to /api/role.
-
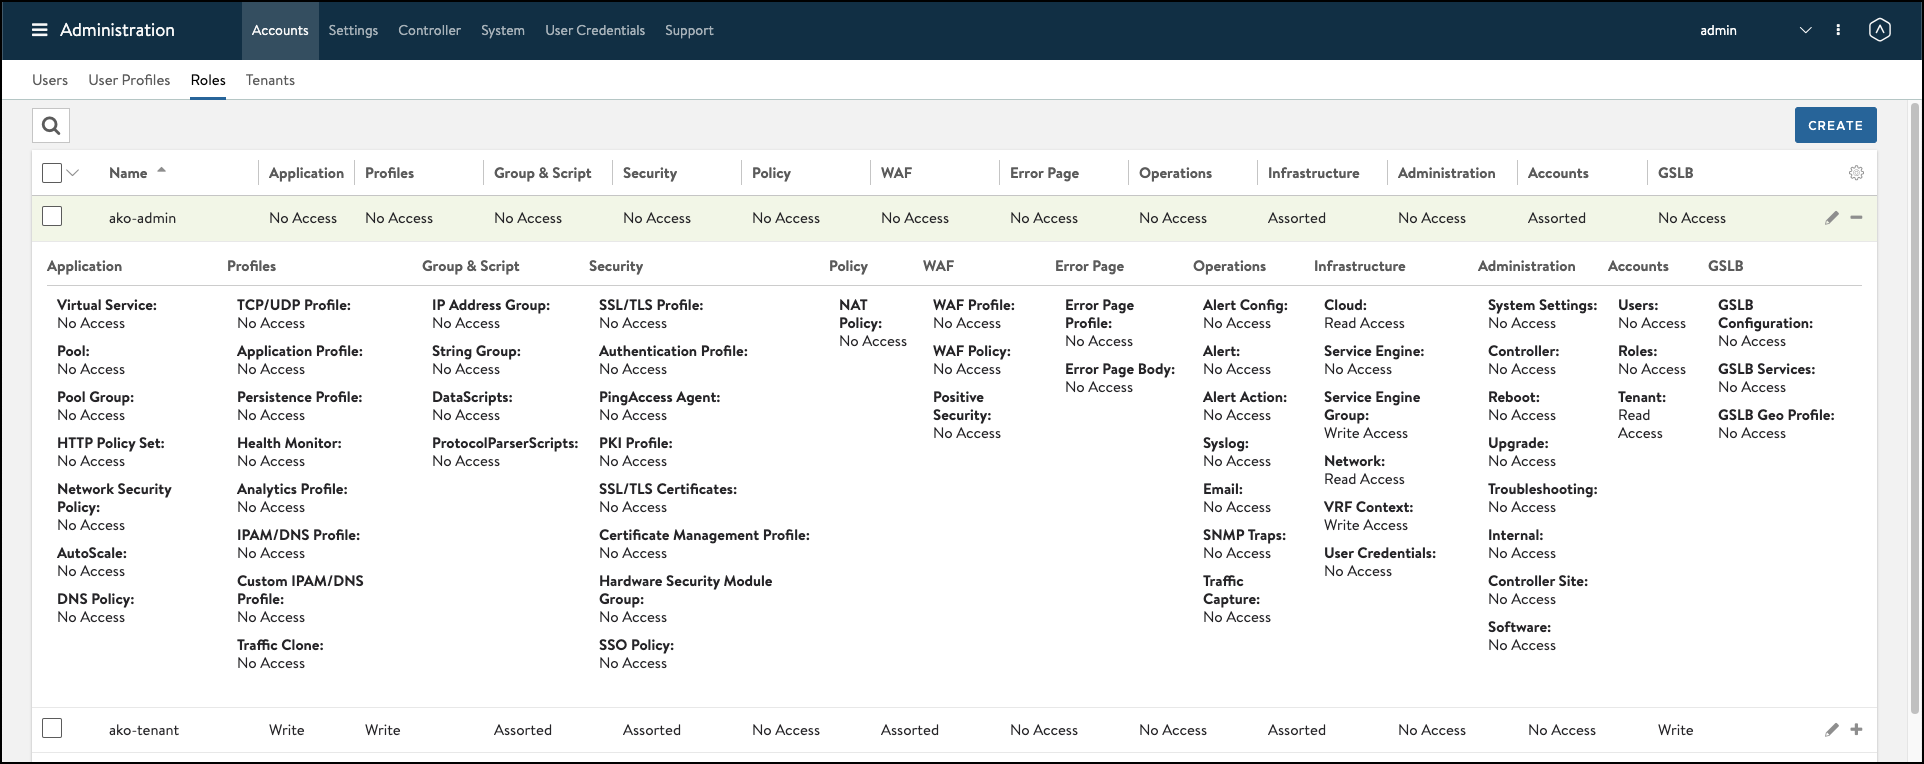
Create the role ako-admin.
-
Create the role ako-tenant.
-
Navigate to Administration > Accounts > Roles.
The roles created are displayed as shown below:
Assigning Tenants
Create users and assign tenants as required.
To create users,
-
Navigate to Administration > Accounts > Users.
-
Click on Create.
-
Enter the User Information as required.
-
In the Tenant & Role section, select the Tenant and the Role.
-
Click on Add Tenant to add another Tenant and the Role.
-
Select the Default Tenant.

-
Click on Save.
In AKO, configure the following
ControllerSettings.tenantsPerClusterto True andControllerSettings.tenantNameto the tenant created above.avicredentials.usernameandavicredentials.passwordto the user credentials created above.
Note: In the NodePort mode of AKO (when L7Settings.serviceType is set to NodePort), VRFContext permissions are not required in the admin tenant in the Avi Controller.
Document Revision History
| Date | Change Summary |
|---|---|
| December 18, 2020 | Published the article for Tenancy support in AKO |